
DIY Communication Device
First Steps Towards Augmented and Alternative Communication (AAC)
Overview
Augmentative and Alternative Communication (AAC) refers to any form of communication that supplements or replaces spoken language. AAC systems range in levels of technology depending on the user’s needs:
High-tech AAC includes electronic devices such as tablets with speech-generating software.
Low-tech AAC includes simple tools such as paper boards with commonly used words or pictures.
This guide explains how to create a low-tech AAC board. These devices can be helpful for individuals who:
Have mild to moderate word-finding difficulties
Struggle to produce certain phrases
Cannot access, afford, or easily transport a high-tech device
Accessibility Snapshot
Cognitive, Fatigue, & Focus
- Step-by-step
- Pausable
- Low exertion
Mobility & Reach
- Seated-friendly
- No overhead reach
- No floor-level work
- No climbing
- Balance-safe
- Adjustable placement
Motor Control & Strength
- Low force
- No heavy lifting
- One-handed friendly
Sensory & Environmental
- Hearing not required
- Low-noise & low-vibration
- Low sensory load
Materials
- 1 × Writing utensil ($2)
- 1 × *Paper ($5)
- 1 × Glue stick ($2) (optional)
- 1 × Printer access (optional)
Steps
Step 1: Identify the User’s Needs
Determine how the board will be used.
Is it needed for daily communication?
Is it for a specific setting (e.g., ordering at a drive-thru)?
Choose categories based on the user’s needs. Examples include:
Morning or bedtime routine
Food choices
General greetings and expressions
Medical needs
School or work phrases
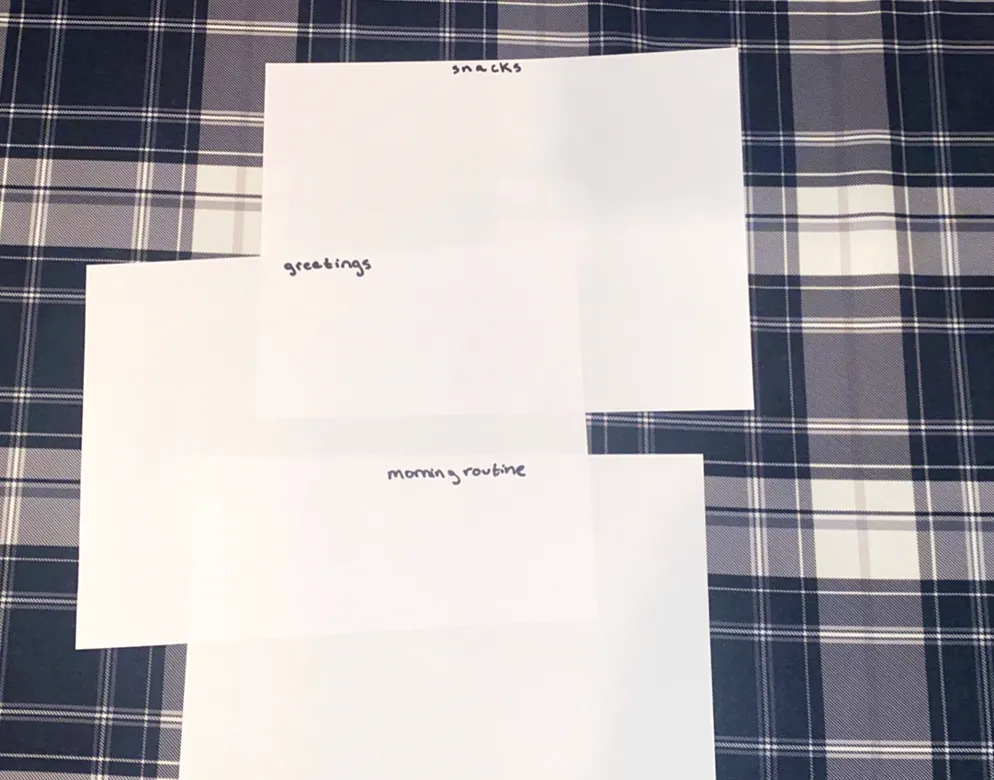
Set aside one sheet of paper for each category. You can label the top of each sheet according to what it will be used for.
Step 2: Create a Grid
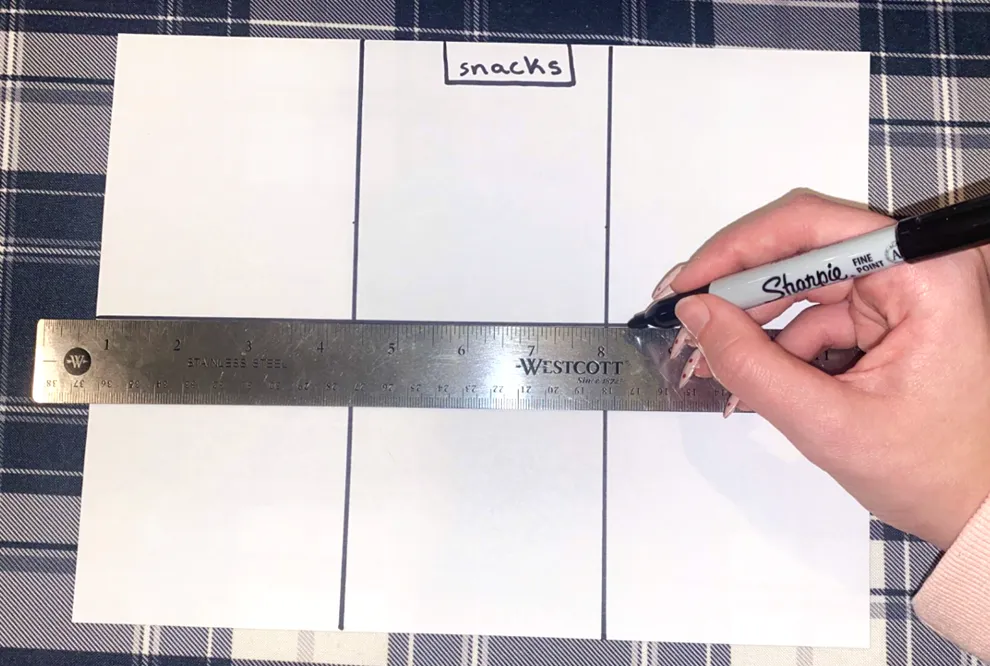
Turn the paper to landscape orientation. Determine how many words or phrases you would like on each board. Draw a grid on the page. The grid can range from:
2 × 2 (4 squares)
Up to 4 × 4 (16 squares)
Avoid exceeding 16 squares, as too many options may be visually overwhelming. Make sure each square is clearly outlined and evenly spaced. A ruler or straight-edged object can ensure this, but it is not necessary.
Step 3: Add Words or Pictures
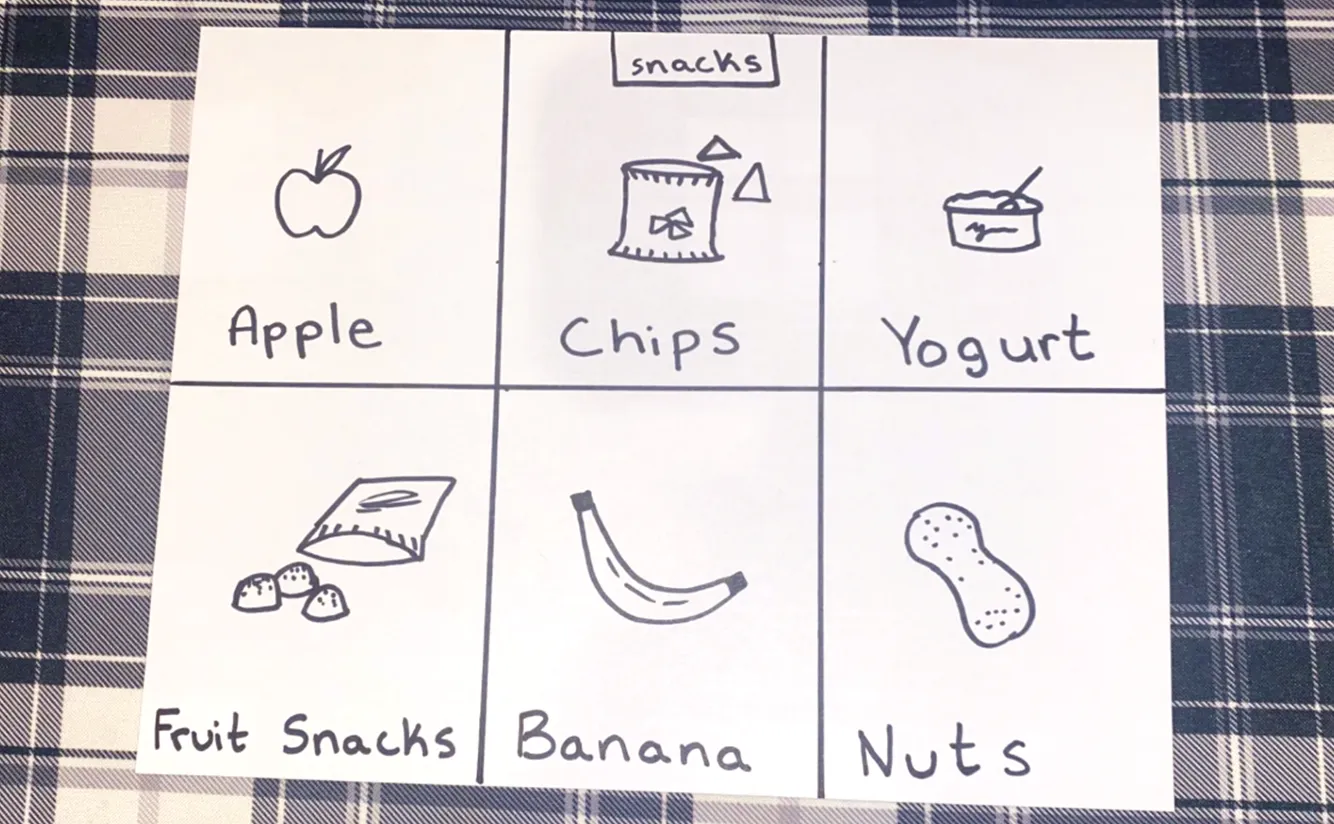
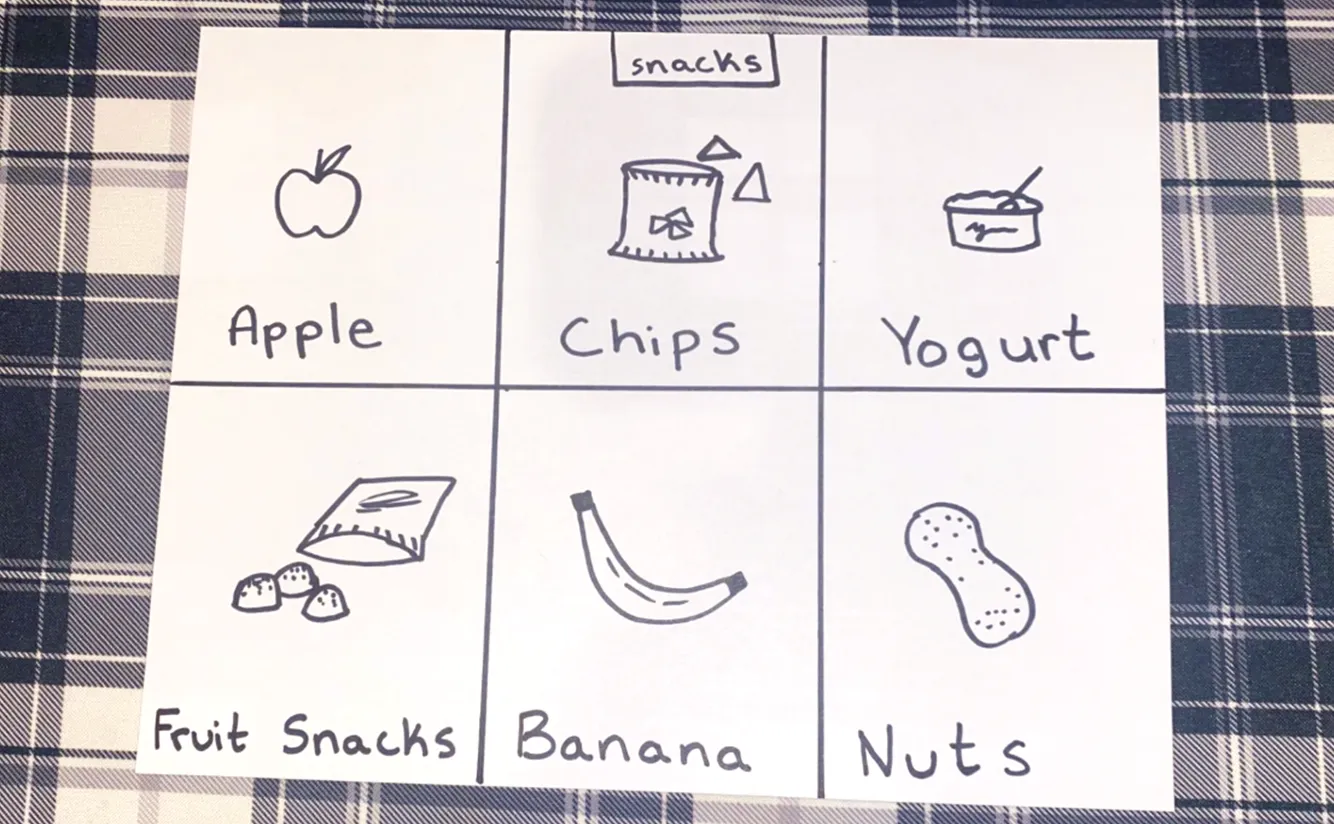
Inside each square, write a word or phrase the user may need. You may also:
Draw simple pictures
Print images and glue them into each square
For example, a snack board might include pictures of crackers, fruit, yogurt, or juice.
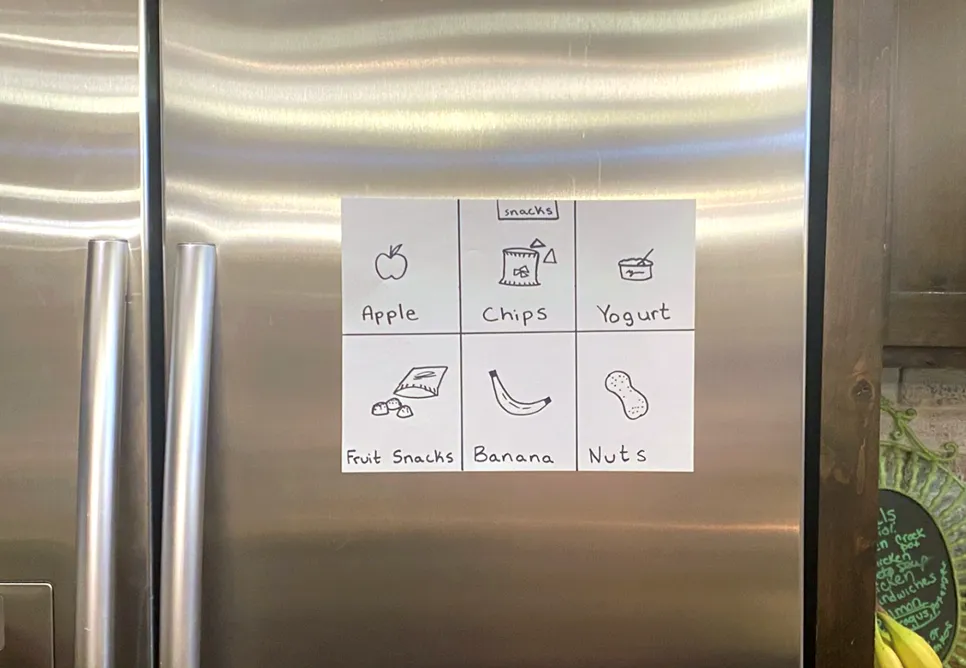
Step 4: Place the Boards Strategically
Store each board in a location that makes sense for its use:
Food boards in the kitchen
Routine boards in the bedroom
General communication boards in a backpack or bag
Placement should match the user’s daily routine and lifestyle.
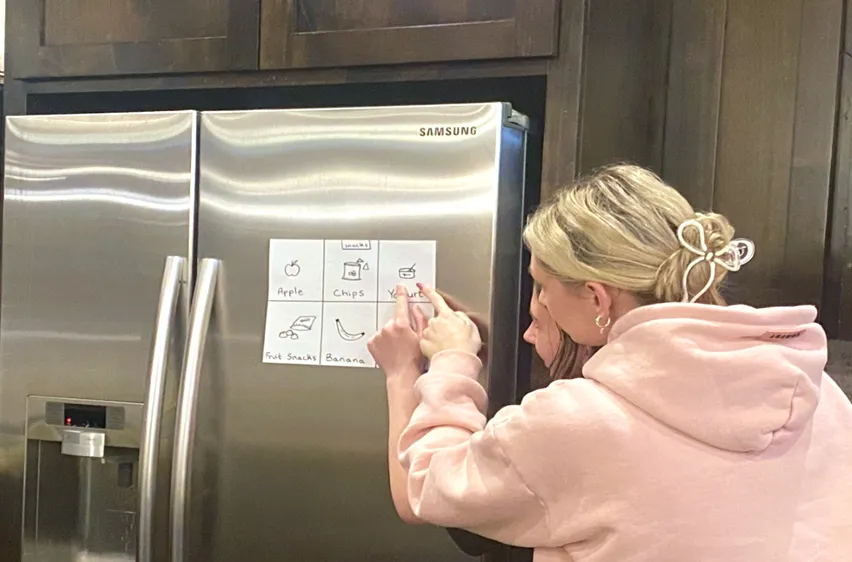
Step 5: Practice Using the Board
Encourage the user to point to the word or picture that represents what they want to communicate.
Model use when needed. For example, you can point to a square while saying the word aloud to demonstrate how it works.
Important Considerations
Communication disorders are best treated by a speech-language pathologist.
If a low-tech device is not adequate, consult a healthcare professional about moving towards a higher tech option or enrolling in speech therapy.
If the user has limited mobility or motor control, keep the AAC board at an accessible location.
Troubleshooting
Adaptations
For a more clean and professional look, you can design an AAC board electronically and print it out. Just change the page orientation to landscape.
Boards can be laminated for increased durability.
Reviewed by: Xander Rouk
Version: v1.1
Adapted from: n/a
Medical disclaimer: The information in this guide is for general educational purposes only and is not a substitute for professional medical advice, diagnosis, or treatment. Always seek the advice of a qualified healthcare provider with any questions you may have about a medical condition or care plan. Read our Safety & Policies for more.